


A Very San Diego Family Photo Session


It’s that time of year again – family photos! I am so guilty of waiting until the last minute to plan photos, so this year I made sure to do them EXTRA early, so I could share all the fun and tips with you – with the help of my all-time favorite family photographer, Crystal Carr. She put some tips together for all of you, and I’ll share along the way why these details are so important as you get your own family photos done this year.
Step 1: Select your photographer! Start by asking your friends for suggestions. Next, take a look at their portfolio to ensure you like their style. Then, check out their reviews on Yelp, Google business, and/or Facebook. Last, contact your chosen photographer and set a date!
- I also love to go to a photographers Instagram page and check out their tagged photos – here you’ll be able to see what clients photos have looked like recently and see a huge variety of shots – even get some ideas! It’s also great to use the same photographer year after year, you start to have a real relationship with them and that comes out in photos.


Step 2: Choose your location. First, try to think of a place that has special meaning to your family. If you love to hike together, consider a beautiful trail. If you are a family of beach bums, definitely go for a beach shoot. Does your family love to dine out and explore the city? Then, an urban shoot would be perfect for you. If all else fails, ask your photographer if they have a list of beautiful go-to locations.
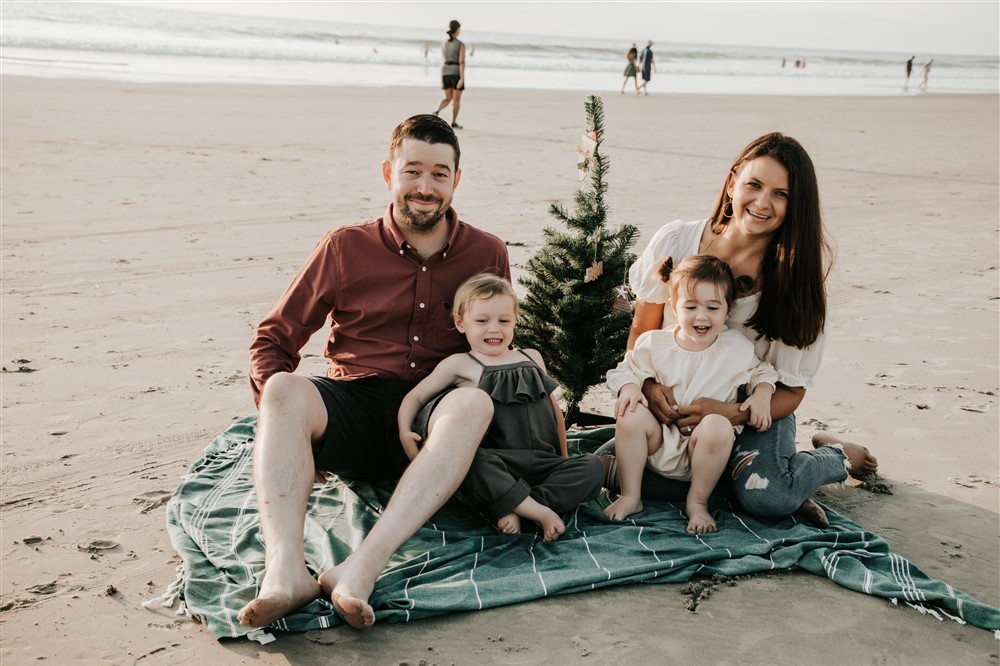
- We chose the beach this year for so many reasons – but mostly because my girls absolutely love the beach so I knew they would be happy! I also know that my preference is for candid photos, and the beach is the perfect spot to actually spend time enjoying with your family – and the photographer can get great shots of you actually BEING, and less posed.

Step 3: Plan your outfits. Instead of matchy, try to choose outfits that mesh, or blend well, together. The first step is to purchase an outfit for mom! Moms are usually the person booking the session and the one who wants photos. And moms are also the hardest on ourselves in pictures! Select a color scheme based off of what mom is wearing with about five colors. Use Pinterest for ideas. Example: Search “color palette with blue.” Now choose one dominant color for each family member. Usually their top is their dominant color. Bottoms, shoes and accessories are their accent colors. The accent colors should tie into the other family members dominant colors. For example: If mom is wearing a navy-blue dress with coral necklace, dad can wear a white shirt and tan pants with brown shoes, little brother can wear a brown shirt and navy-blue pants, and little sister can wear a coral dress.
- I wanted to do a very beachy, but casual vibe this year – my family doesn’t do fancy and I didn’t want to pretend we did for photos!


Step 4: Pamper yourself. Schedule any haircuts or hair color changes at least a week prior to your session in case anything needs to be fixed! You may also want to fresh manicure or pedicure. I highly recommend getting your hair and/or make-up professionally done on the day of your shoot. Give yourself plenty of time beforehand as those appointments can run late. If your photo session is at 5:00pm, try to schedule your HMU appointment around 1:00pm or 2:00pm. A place like Blo Dry Bar is a great option.
- So true story, we had to reschedule our family photos this year because I cut this part of the process too close. We had everything “perfectly” lined up so everyone looked freshly cut and groomed that day but then showed up FIVE minutes late to a hair appointment and they wouldn’t take us. Oi! So, Crystals point here is so so true!


Step 5: Prepare the family. It’s important to communicate to your spouse and kids why having photos taken is important to you and how you hope the session will go. If they are aware that this matters to you, then hopefully it will be reflected in a positive attitude! For very young kids, you may want to offer an incentive. A common one is if they are a good listener during the photo shoot, then mom and dad will take them for ice cream afterwards, or at a later date. It’s near impossible to get all eyes toward the camera and smiling with most toddlers and preschool age children. Keep your expectations of your photos reasonable during the younger years. Most photographers will try for more candid shots of tickling, laughing, and running around.
- Love this tip so much! Now – what do we have to incentivize those husbands? ?


Step 6: Practice Your Patience. Congrats! With the help of your professional photographer, you planned and executed a successful family photo shoot! Now, sit back and relax for about two weeks while your photographer makes the images even more stunning with fun filters and expert editing. Whatever effort you put in will be returned in full with your final images.
Very few things matter to me as much as good photos of my family, with me in them! I truly think its one of the most important things to do every year – you’ll cherish those moments and those times when your kids were younger and let you tickle them for smile.
I hope these tips and tricks from Crystal were helpful – what other tips have you learned along the way with your family?
